
Last Order: Making a Photobook

After 5 year process of shooting, editing, writing, designing and speaking to printers (and then tearing it all up and restarting), I am very happy to announce that Last Order is finally available. I’ve hinted at this book for a very long time, and it is something I'm immensely proud of, so I’m glad that I can finally share this with the world. If you are interested in picking up a copy, thank you so much for your support, and you can get yourself a copy here.
In producing Last Order, I realised there isn’t a whole lot of information about how to make and produce a photobook, especially as a hobbyist photographer doing this out of passion, and one without a massive social media following. Therefore, I wanted to write a little something to share the behind-the-scenes experience of what it's like to self-publish a photobook, and my own experience in doing so. I will say upfront that this is my first book, so I am definitely no expert. If you are looking for some expert guidance, I would recommend the Ted Forbe’s excellent set of videos, where he showcases many photobooks and zines made by people like you and me. I would also suggest Evan Ranft’s channel, where he goes through a lot of the logistics behind making a photobook. With all that being said, as I was making my own book, I wish I had someone to walk me through the entire process (as I am going to try to do now), and so I hope that this is helpful to any of you reading this.
where to start: Conceptualising and shooting
Perhaps this goes without saying, but in order to have a photobook, the first two things one needs are photos and an idea. Photos probably don’t require further explanation, but I think having some semblance of a concept is important. In my view, what distinguishes a photobook from a photo album or a book of photos is having some intention behind it beyond just the mere act of displaying your photos. This concept can shift over time (mine certainly did), but I think having some concept of what you are trying to do or what you are trying to say helps to guide you through this process. I put these two stages together because I don’t think that one necessarily comes before the other. You can choose to come up with a concept and then shoot with specific ideas and images in mind, but I also think it’s incredibly valid to just shoot, and then later see how your work comes together. Whether you want to shoot park benches, street portraits or capturing ideas of isolation and loneliness in the modern world, the key thing is to just get started.
While I didn’t know what exactly what I wanted to say, I think I always knew that I wanted to work on a photography project within hawker centres. On one level, I’ve always enjoyed hawker food, and I knew that they were really dynamic places, and thus were a great space for me to practise my street photography skills. On a deeper level, having been brought frequently as a child to the various hawker centres by my grandfather and my father, they were one of the few spaces in Singapore I felt at home in - when I started this project, I had only recently moved back to Singapore for national service, and I was finding integrating back into Singapore difficult. I think hawker centres and hawker food were thus a source of familiarity and comfort. Over time, I found my concept changing a lot, ranging from documenting unseen labour (like in my 2022 Objectifs SHYA project) to the multiculturalism of hawker culture to the hawker centre as a social space. This is very often an iterative process, and that your concept and the photos you have will continue to influence each other.
There are an infinite ways of going about this shooting process, or perimeters to work within. One of the challenges I set myself was to shoot only with a single prime lens (Initially I used a 35mm lens before switching to something slightly wider at 23mm). I wanted to challenge myself to use a lens with “normal” fields of view to show that what I was capturing were things we all see within hawker centres, and I didn’t want to rely on perspective distortion or creamy bokeh to create compelling images. While there is really no right way to do this, I would offer these three brief pieces of advice to anyone considering making a photobook. First would be to ensure that you have a variety of different perspectives and types of images (get your wide, medium and tight shots), which will give you so much more flexibility when putting your book together. Second is to try keep your editing style as consistent as possible - while I’m just suggesting every image should have that orange-teal Instagram look, having some visual cohesion is helpful. Last is to really spend the time and be as familiar with your subject as possible. It’s through that familiarity that one finds their voice, and figures out what they want to say.
Sequencing and layouts

Printing and laying everything out was a really big help - it’s much easier to see the overall structure of the book when you can see everything at once, which is just hard to do on a screen,
This was by far the trickiest part for me, and if this book was never finished, it would likely be because of this step. I probably spent more time thinking about how to sequence the photos than I actually did shooting. I spent a lot of time thinking about how to put all my photos together in a way that “made sense” both visually and thematically. I’ll be honest and say that I don’t fully understand the layouts and sequencing of most photobooks I see, and so I found it hard to replicate that process. I sometimes see how individual spreads might work together, or how different visual themes might be alluded to throughout the book, but I find it very hard to explain at a more macro level why most books are organised the way that they are. Maybe it’s just me, and that I’m not a super visual person (very ironic indeed). What I think has really helped me move forward is having a strong idea about my concept, and how that translates visually. I found the idea of “light to dark” to be very much in line with the concept of my book, which provided me a rough overall structure.

An early draft. I used a software called Affinity Publisher (am not within the Adobe ecosystem), and it allowed me to put everything together relatively easily.
As I was trying to figure out my layouts, I ended up printing all my photos. I found that laying everything out physically, where it is easier to move things around or explore new ideas, helped to speed up the process, and allowed me to see everything at a glance. I used the prints and laid everything out on the floor, and I used my laptop to record the different spreads I would come up with. Within each page or spread, I found the key was keeping it simple and very intentional. As the photographer making the book, your role is to is to control your viewers attention from the moment they pick up the book and open the first page. Whether images are complimentary or contrasting with one another (in the way of subject, colour or shape), each image should be put together for a reason. I think something not done enough is leaving blank pages. While you will get the occasional “oh where is this page? Was there a misprint?” comment, leaving blank pages is a great way to regulate the flow of the book, or to introduce new ideas (like a space between paragraphs in an essay). It prevents your book from being overly busy visually, which is especially important for a book like mine.
I found treating my book like a narrative to be really helpful with sequencing. Like any good story, I found that my photobook needed to have a certain rhythm, periods of building up, and then climaxes which act as payoffs. In my mind, I wanted to create a story with highs and lows, and with mini subplots. A really good piece of advice I got from an old mentor was that you don’t want to make all the connections for the viewer, so even if you think the two images work really well together, it may be worth spacing them out to let your viewer make that connection themselves. Using an example from the book, I have these two photos of people playing Chinese chess together, and while initially I thought they would go excellently together, I eventually figured out that separating them may create further interest.
Design
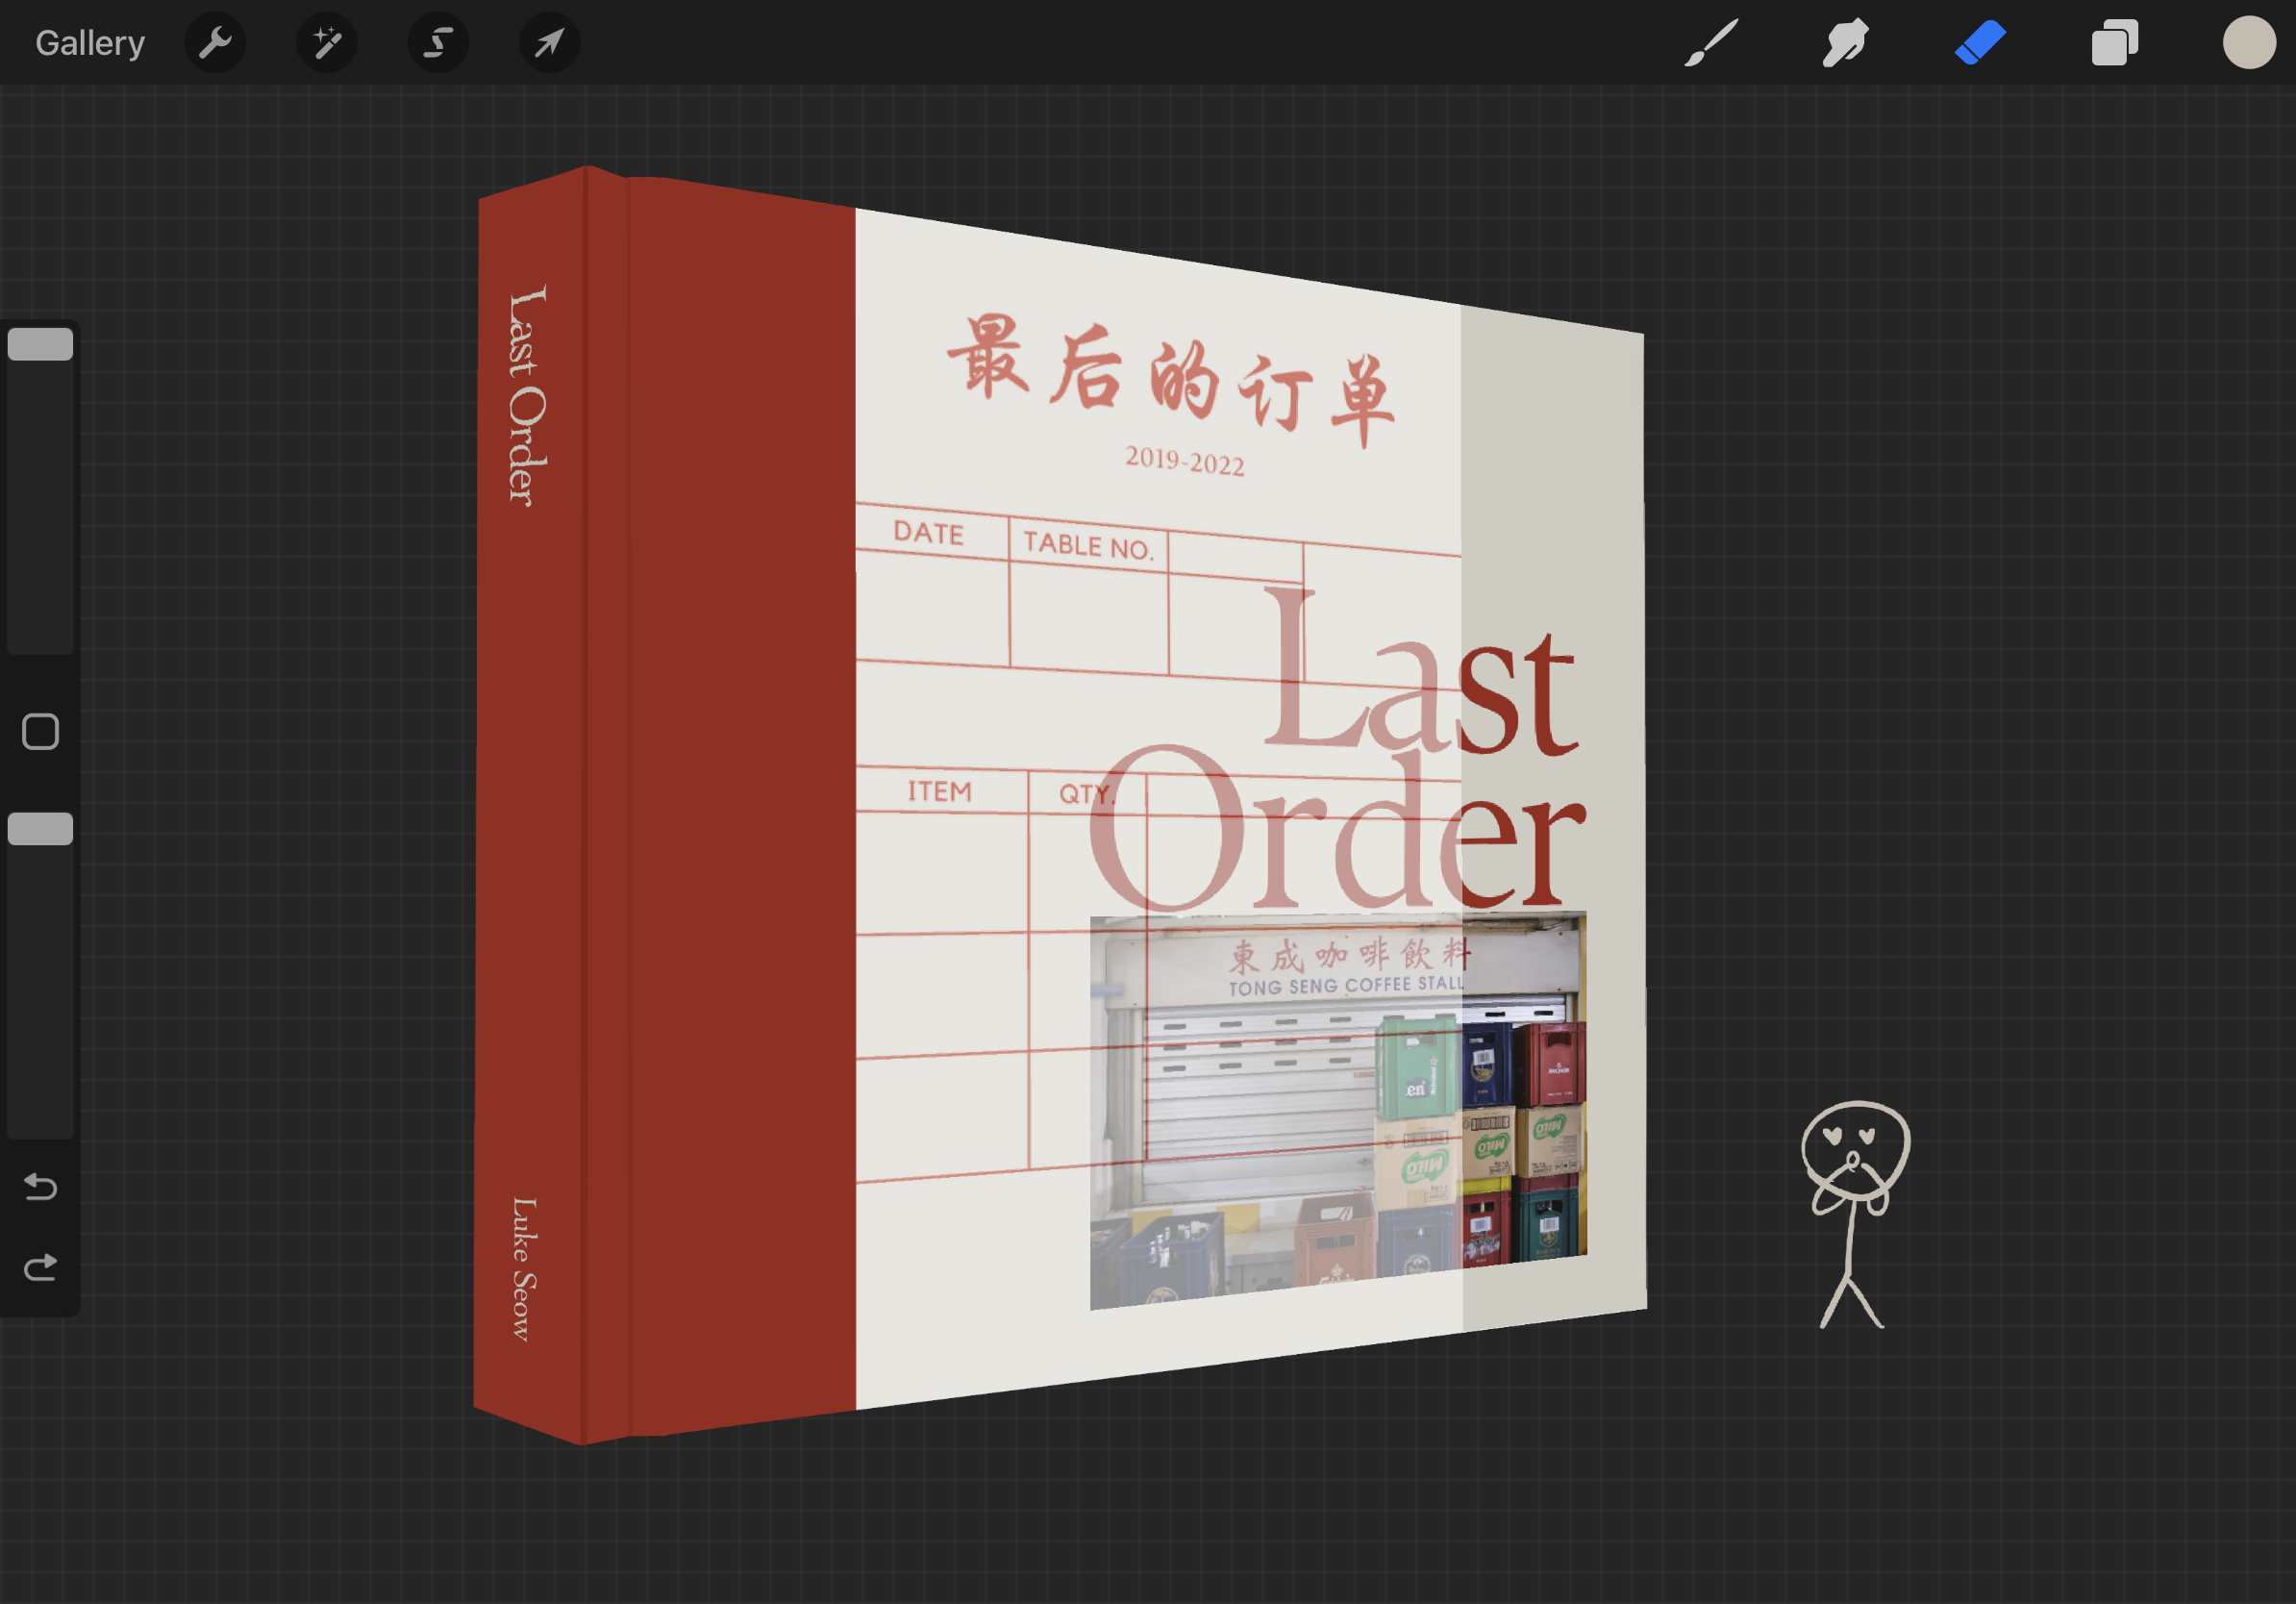
An early rendering of the cover, as designed by Silvia. My reaction to seeing it was pretty much the same as the stick figure (also drawn by Silvia).
I am incredibly fortunate to have had a friend, Silvia, to work with me on this part of the book making process. An incredibly talented writer and designer, she honestly made things so much easier for me, helping me out in areas I know I am weak in. If you are anything like myself, I am a decent enough photographer, but I am fairly helpless with graphic design, and so I knew from early on I would need someone else’s help. We spent hours going back and forth on different cover ideas, fonts, spacings and other small things which tie the different elements of the book into a cohesive product.I think the lesson here is that it’s okay to work with people and to collaborate. While not everyone may have a Silvia in their lives, I would imagine that as a photographer/creative, you have someone else in your life who has similar interests. Seeking out other artists and creatives can help expand your talent pool and provide some new perspective, and will so often lead to a better final product. Even if you don’t know anyone, speaking to family and friends can be a great way of getting some outside feedback or opinions. Artists always have some amount of ego, but if you are able to open up and bring people into the creative process, I think it only ends positively.
If you don’t have a clear idea of what the design of you book is going to be, I’d recommend going to your local bookstore, photography gallery or library to see what is possible. There are an infinite number of options, and I think this is where you really get to have a bit of fun, and do something which fits both your project and your own personal style. Some things that you’d want to make decisions about include hard or softcover, the paper type (glossy or matte, the paper texture, the thickness of the paper), the binding type, the typography and the dimensions and aspect ratio of your book. Knowing very little beforehand, I learnt a lot about each of these areas.
Printing and logistics
Once you are starting to firm up the design of your book, I would recommend reaching out to printing companies and getting quotes. I am assuming for most personal projects, most people don’t have publishers to take care of this for them, and so I think its important to reach out early to find the right printer for your photobook. Having a good printer who knows what they are doing and can advise you will make an incredible difference to the success of your project. When reaching out, try to be as specific as possible with what you are looking for, but also what you don’t know and would need guidance on. These guys have a ton of experience printing books, and will be more than able to guide you. I would highly recommend getting a sample of your book before going into final production. Not only is it very exciting (it is the first time you will see your book in physical form, rather than as a PDF), it allows you an opportunity to get a feel for your product, and to really scrutinise every detail to make sure it aligns with what you want.

Waiting for and then finally receiving the sample books was like a child waiting for Christmas morning. I cannot convey how excited I was to have the books in my hands finally.

You can see the difference in colours between two sample papers that were given to me. These are the kinds of things you want to look out for when getting a sample, because they can literally make or break your project.
A little bit about printer logistics: If you are If you are looking to make less than around 50 copies of a book, then printing locally is probably your best option. However, if you’re looking to print at a large scale (maybe anything over 100 copies), I personally would recommend printing with a company in China, especially Shenzhen (I personally used a company called Sunvandar, and I would highly recommend them). Not only is it likely to be significantly cheaper than printing elsewhere (without revealing exact numbers, the unit cost of a book in Shenzhen was about 25% the cost of printing locally in Singapore, even when you factor in shipping), but these companies do the printing for most of the big publishers around the world, and so the quality is still excellent. I would select one of these printing companies over a service like Blurb because despite the ease of use of some of these platforms, they charge an incredible mark-up, and you probably don’t have the same level of customisation or customer support as you would with an independent printing company. One thing to bear in mind is the more copies you print, the cheaper the unit cost becomes. Different companies have different thresholds, but it is important to consider the difference between digital and offset printing. Digital printing would be similar to a printer at home, and is preferable for small/medium print runs. For larger print runs, a process called offset printing is used, where the image is transferred onto a plate and stamped onto the paper. While there is a higher initial cost, the unit cost becomes incredibly low over a large volume, and the print quality is arguably better. When deciding the number of runs to make, ultimately you are trying to balance between keeping the unit cost down, and not having too many copies remaining. After all, nobody wants hundreds of unsold books stacked up in their bedroom.
Final thoughts
At risk of rattling off a series of clichés, I genuinely think a photobook, or honestly any personal project, is one of the most meaningful and satisfying ways to engage with your photography. This project has given me opportunities I otherwise would never have had, and I’ve met and worked with some incredible and amazing people. Your project need not be big or overly ambitious, but whatever it is and whatever you have to say, just start. Take that camera out. Tell that story. Make your voice heard. I’m not going to lie and say that it’s all been smooth sailing and easy, but I can promise that it will be worth it. I also want to emphasise that there is really no right way to make a photobook. Every choice you make is ultimately a refection of you and your project, so make it your own.
Even if you are not looking to make a photobook, I hope that this has provided you with some insights about my own journey creating this book, and some of the experiences I have gone through. It has been one of the most fulfilling things I have ever done, and I am so thankful for all the support I have received over the years.
If you would like to pick up a copy of this book for yourself, feel free to order one here. Thank you once again for your support.